Shiny/imvu buttons

ever wondered how to make those shiny looking small buttons? they usually have one word on them, or might be fandom related.
in this tutorial, i'll explain how to make them step by step, whilst also providing free to use base materials for your own use!
- First of all, it's important to note that I'm creating these buttons on aseprite, but a lot of what I tell you here can be easily transferrable to other programs.
- Secondly, I recommend "linking" the cells of the base, star, lettering, and color layers. This will make more sense as you read, but basically all "linking" does is if you make any changes to a linked layer, it'll affect every single frame of the layer as opposed to just the one you're on. It'll make your life much easier, I promise.
But other than that... Let's get on with the tutorial!
- Step One: Download or create your base button and animations! I'll provide some below, but you can find other free alternatives online if you go searching, or you can create your own! Just be mindful of other users terms of credit.
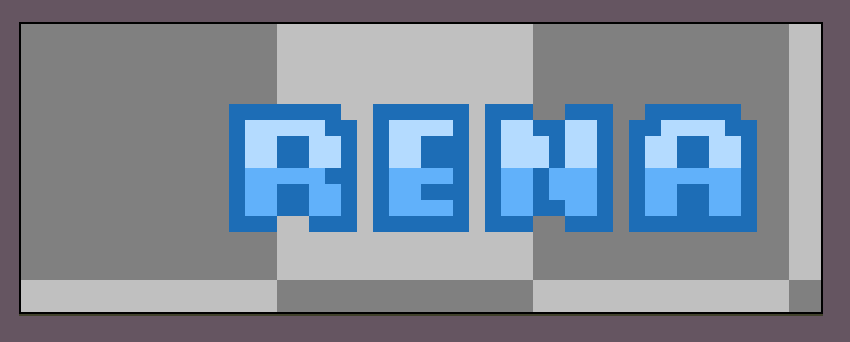
 The base image
 The star
 The shine animation
 The sparkle animation
(Don't worry, the animation files do not have a black background- they're transparent! I just added a black background through HTML to allow you to properly see what the animations look like!)
Why do I separate the star icon on its own layer?: It's not necessary. You can absolutely merge it with the base layer too. But the reason why I have them on different layers is just in case I want to change the icon to something other than a star, which would be a pain if it were merged with the base. - Step Two: You'll want to place all of these files/layers into your designated program in this specific order, from bottom to top...
base > star > shine > sparkle
For example, here is what my layers look like! (We can ignore the lettering and color layers for now!)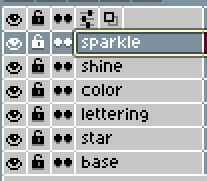
- Step Three: Are you files all correctly in order? Good! Now comes the fun part... Writing the word you want to have displayed on the badge! Put the word above the star icon layer. There are three ways to do lettering...
One: Ignore all standard conventions for these types of buttons and use any kind of font you want. Who cares! The net is yours and you can do anything you want.
Two: Manually paint, pixel by pixel, each letter that you need to spell your word. This is what I personally do because I'm very particular and enjoy the slow methodical process.
Three: Download this font and add it to whatever program you're using to create the button. Let me know if this link ever breaks, because although I don't use this font myself, I do have it downloaded.
There are also two ways that you can align your text if you'd like to follow the standard for making these buttons. Typically, the letters will be squashed together, as in the outlines touch each other. I prefer making them so that the outlines do not touch each other. I've seen both methods, though the former is far more common.
Now all you have to do is write your word! You may have to manually lengthen/duplicate the canvas and do some minor edits to the base layer to fit in longer words, but I'm sure you can work that out. If not, just extend/duplicate the canvas, use the eyedropper tool to select the missing colors, and then fill in the missing sections!
Here is an example of some lettering!
Things to note are...
Half of the lettering inside is light, and the other half is dark. This provides contrast and helps readability. Also, the outline of the letters are the darkest part! Again, this helps with readability.
I recommend opening a few already made shiny buttons to look at how letters work on them for reference! -
Step Four: Once all your lettering is done, you might want the button to be in a different color, right? If that's the case, then keep reading please! If not, then skip this step!
If you remember above, I had a layer called "color". This is how I lazily recolor all my shiny buttons into a new fresh coat of paint!
Basically, pick the color that you want your button/text/icon to be, and place a new layer above all of the layers that you want to be affected by the new color. By this, what I mean is... If you just want to base recolored, then put the new color layer above only the base layer. Usually, I include the base, star, and lettering layers for re-coloring.
On that new color layer, fill the whole layer with that color! It should look something like this...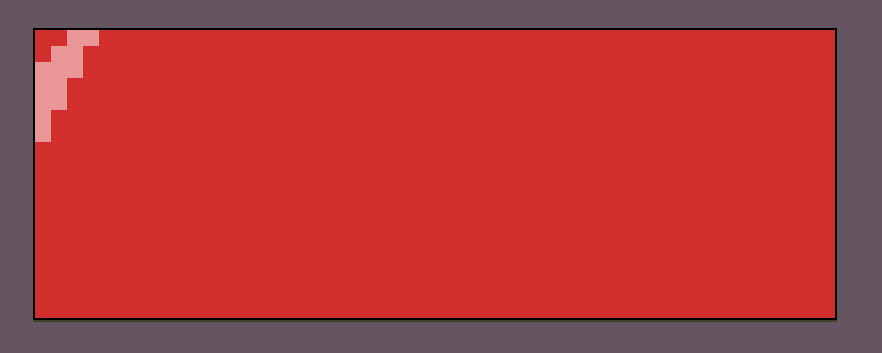
Next, you'll want to erase the corners, so that it looks like this!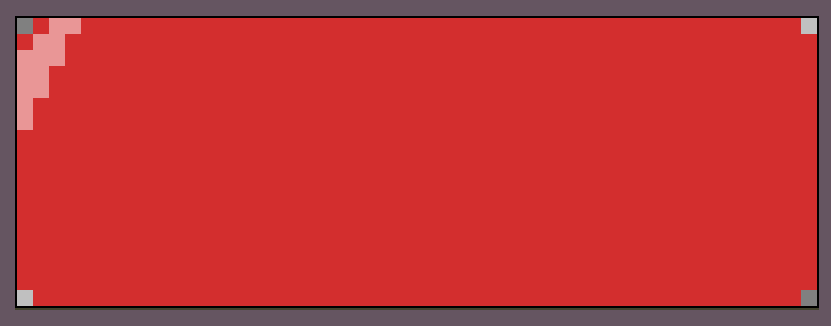
Then, you want to go into your layer properties, or whatever it's called on your program. On aseprite, you can double click the layer, or right click and then press properties. You can also just press F2!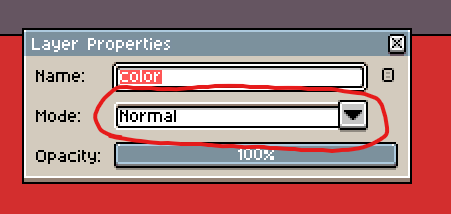
Once you see this box, or something similar, you want to change the mode to "COLOR".
Doing so will result in all of the layers below the "color" layer changing to your designated color, like this!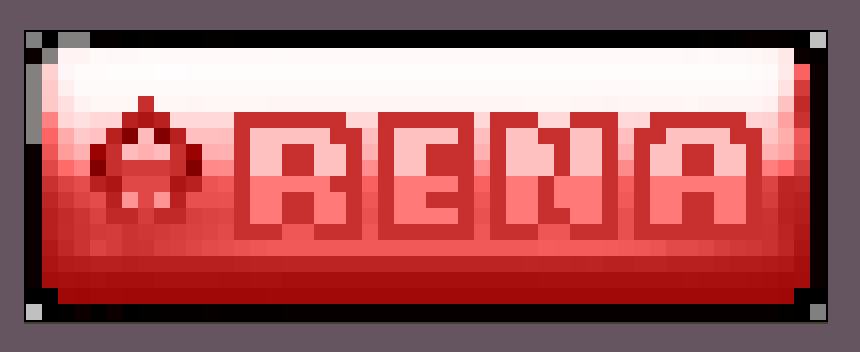
I also opt not to merge the layers so that resizing and editing is made easier for different buttons made in a batch, but like, I'm not the boss of you. - Step Five: From here, it's just a case of cleaning up anything you feel like needs changing, editing animations, and/or editing frames to suit your own tastes! I don't have any recommendations for this step because I'm lazy but...
Oh! If you lengthen the button, you will have to edit the animations and such to extend to the new length. I just copy and paste what I already have and move it over a little to match the previous speed and such. You don't have to be 100% perfect here, cause the animations happen so fast. You will probably also have to move/make more sparkles for bigger buttons, but again... It doesn't really matter, since it all happens so fast.
So all that's left is... Saving the button! Which is easy: just choose your preferred folder and filename, and be sure to save it as a .GIF otherwise your animations wont work!
Here is the finished button I made in this tutorial :D! What did you make?

TBH, i'd make the lettering outline of the shiny button above a bit darker too to help with readability, but i'm lazy so... but keep in mind that you might have to/want to do that too even after recoloring!